 Skip to content
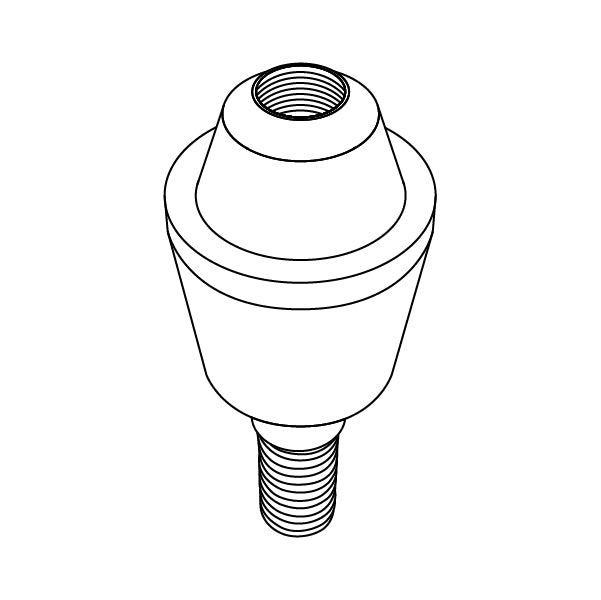
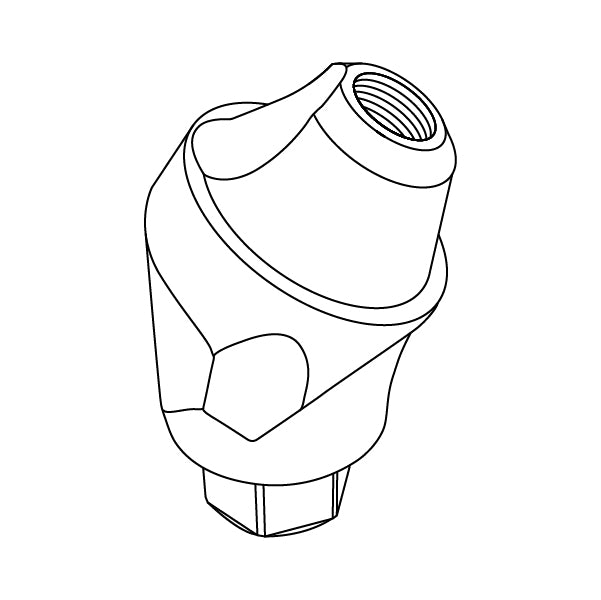
They offer a customized fit, improved esthetics and high precision compared to pre-fabricated abutments.
They are commonly used in cases where a high level of precision and customization is required, such as in the esthetic zone, and can significantly improve the final outcome of the implant restoration process.

Healing Caps Conical Connection
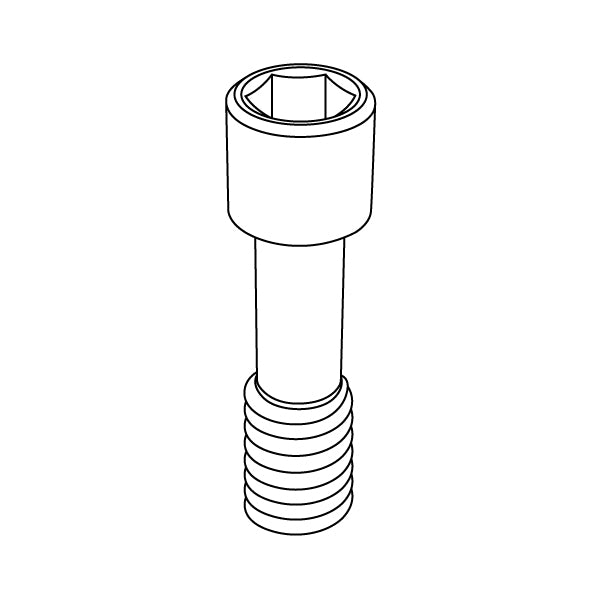
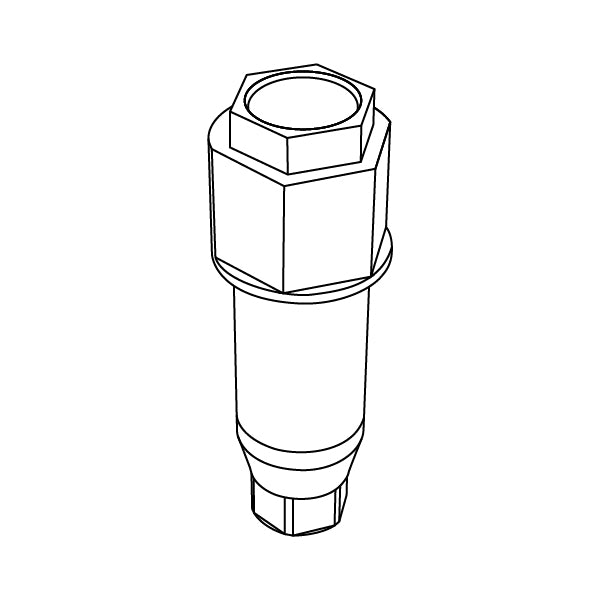
Screws Conical Connection
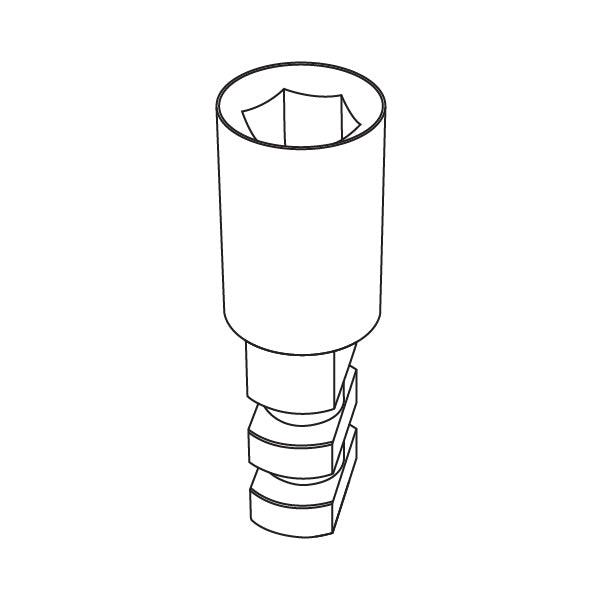
Impression Copings Conical Connection
Analogs Conical Connection
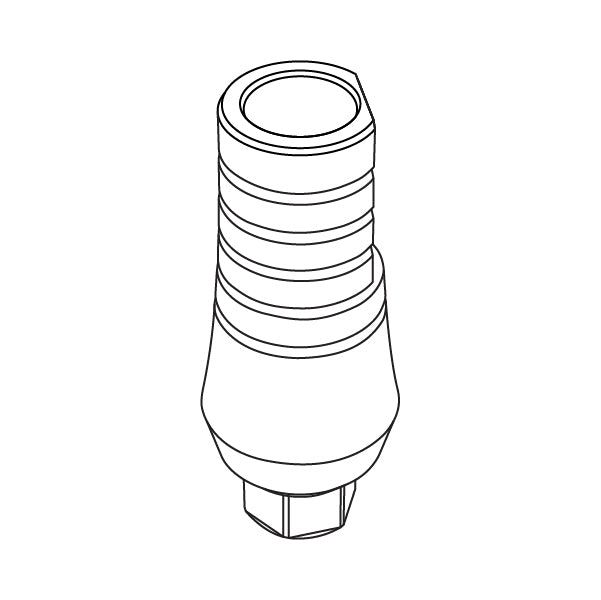
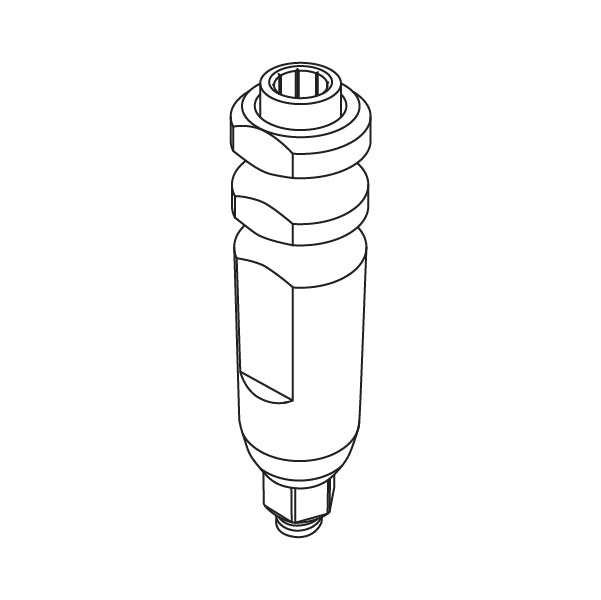
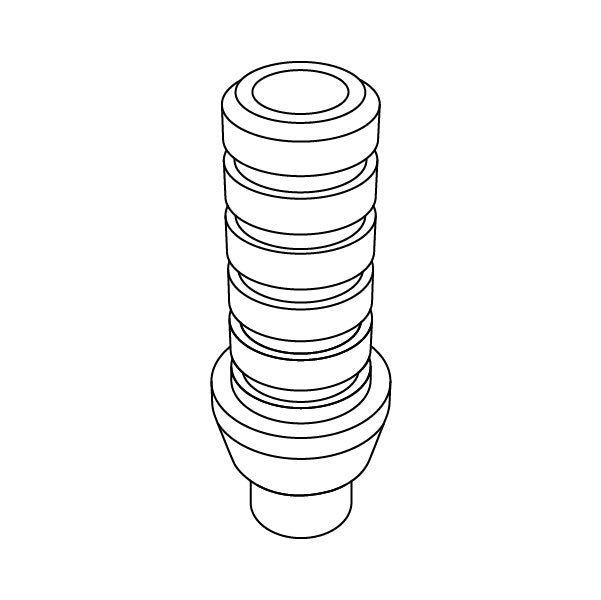
Straight Abutments Conical Connection
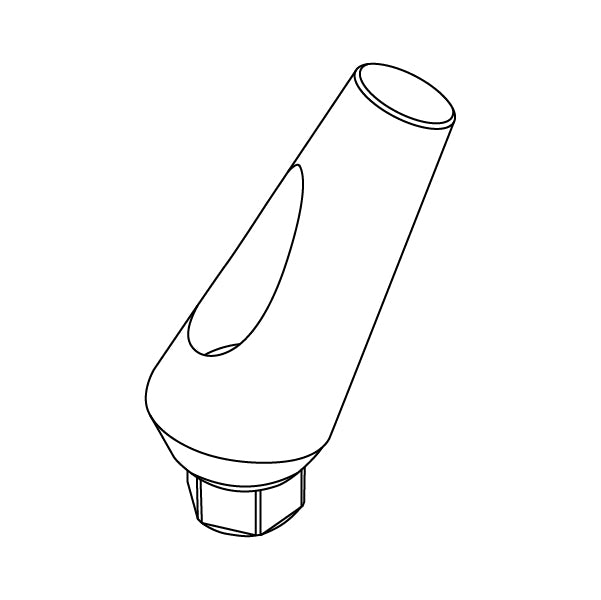
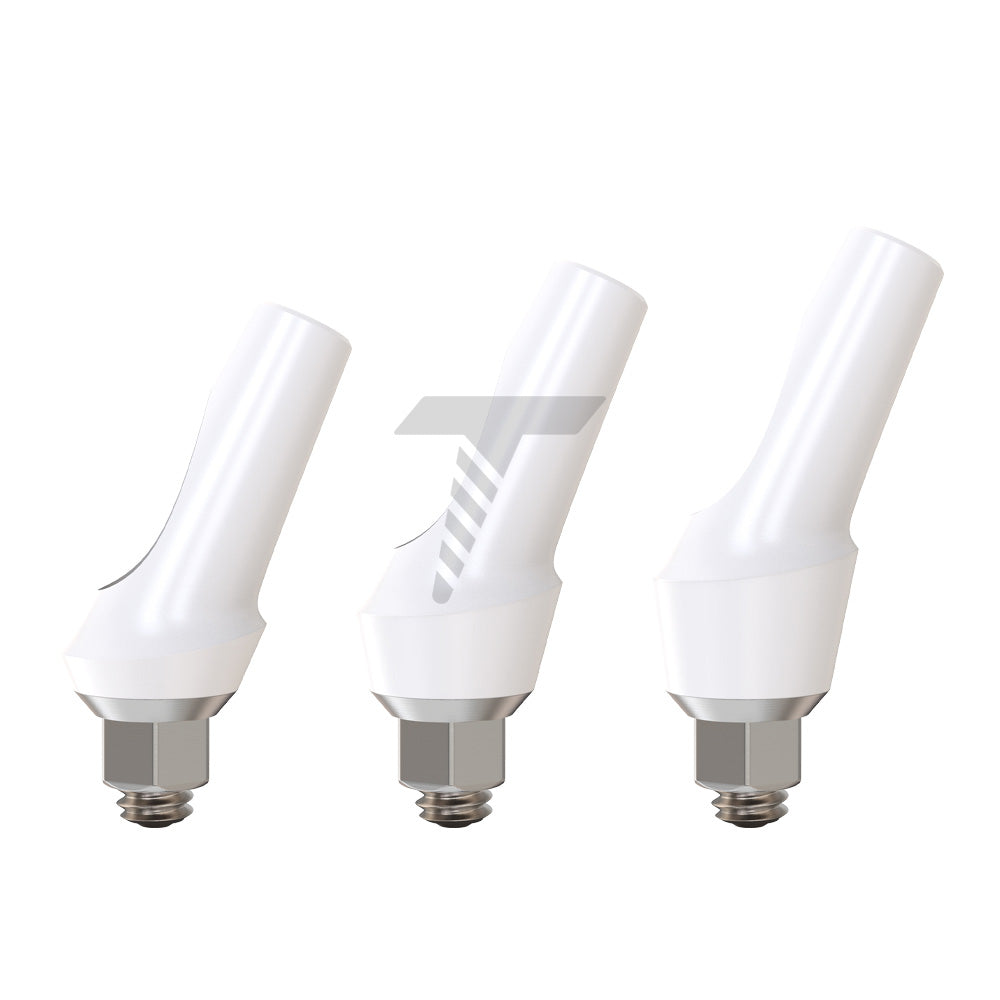
Angulated Abutments Conical Connection
Temporary Abutments Conical Connection
Zirconia Abutments Conical Connection
CAD/CAM Abutments Conical Connection
Straight Multi Unit Conical Connection
Angulated Multi Unit Conical Connection

Click Attachment Conical Connection
Ball Attachments Conical Connection


Anti Rotational Castable Abutment Narrow Platform (NP)
As low as $6


Anti Rotational Castable Abutment Regular Platform (RP)
As low as $6


Rotational Castable Abutment Narrow Platform (NP)
As low as $6


Rotational Castable Abutment Regular Platform (RP)
As low as $6


Anti Rotational Chrome Cobalt Base Narrow Platform (NP)
As low as $33


Anti Rotational Chrome Cobalt Base Regular Platform (RP)
As low as $33


Rotational Chrome Cobalt Base Narrow Platform (NP)
As low as $33


Rotational Chrome Cobalt Base Regular Platform (RP)
As low as $33


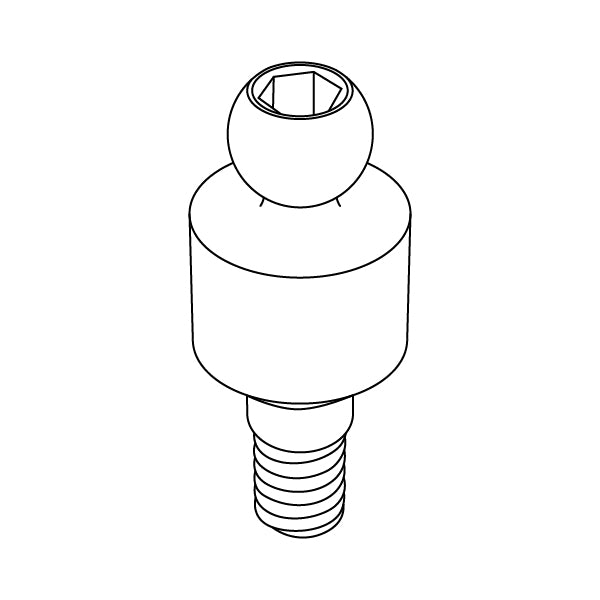
Screw For Narrow Platform (NP) Abutment
As low as $3.5


Screw For Regular Platform (RP) Abutment
As low as $3.5
Frequently Asked Questions About CASTING ABUTMENTS CONICAL CONNECTION
Using a conical connection is often the best choice for most dental practices. It eliminates any micro-gaps between the implant and the jawbone, ultimately fusing them together because of its cone shape. Overall, the conical design creates a wedging effect. Therefore, the casting abutment will sit deeper into the implant. This prevents bacteria buildup and ensures a better connection. Having a tighter seal ensures greater strength and stability. Patients will experience less bone loss and movement over time. You’ll also find that there’s a significant reduction in the risk of gum recession from bone loss. This would typically reveal the dental implant, causing pain and leading the abutment to fail over time.
When a patient has one or more missing teeth, you might recommend dental implants, which are artificial tooth roots. The jawbone fuses with this to give you a secure platform to add the prosthesis. Typically, you’ll need abutments, which are the connecting pieces joining the implant and prosthesis. Both are often required for the patient’s treatment. A final abutment gets screwed into the implant so that an artificial tooth can be placed over it. Alternatively, casting abutments allow the dental technician to create the tooth shape directly from the device.
While there are various methods, the most traditional procedure is to: - Choose the right casting abutments (conical connection or internal hex platform). - Screw them into place. - Adjust the height of the abutment. - Apply the wax to be in the form of a tooth/teeth. - Create channels so that the metal will flow into the cast. - Remove the screws before casting. - Put the cast creation (with the abutment) into the oven to evaporate the wax. - Separate the channels and clean them with sand-blasting techniques. - Reassemble the metal base and screw onto the casted abutment. - Insert the casted abutment into the implants, screwing them into place to ensure fit. - Apply the ceramic material to the abutment. - Check for fit in the mold. - Send the finished abutment to the dentist.
Your patient’s healing process comes in stages. The first will be after the implant is placed because it must fuse with the jawbone and can take up to three months. Typically, you will send the person’s mouth mold to the laboratory, so the technician can create the casting abutment. Once healed, you can place the casting abutment into the implant. The patient will likely have to wait one to two weeks for everything to go back to normal.