 Skip to content
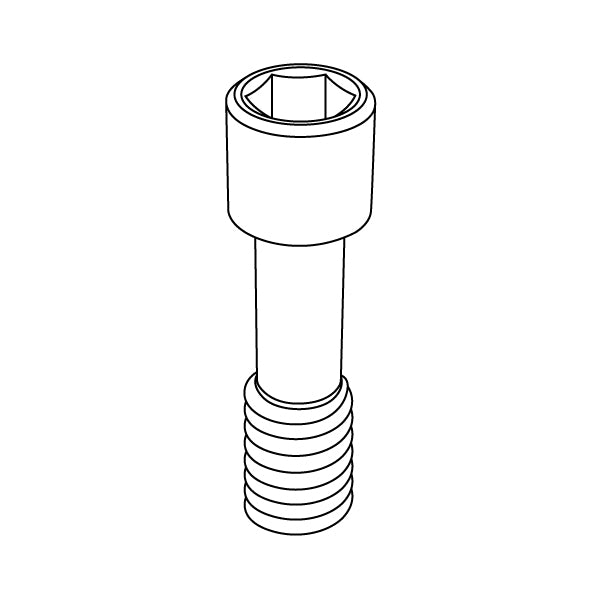
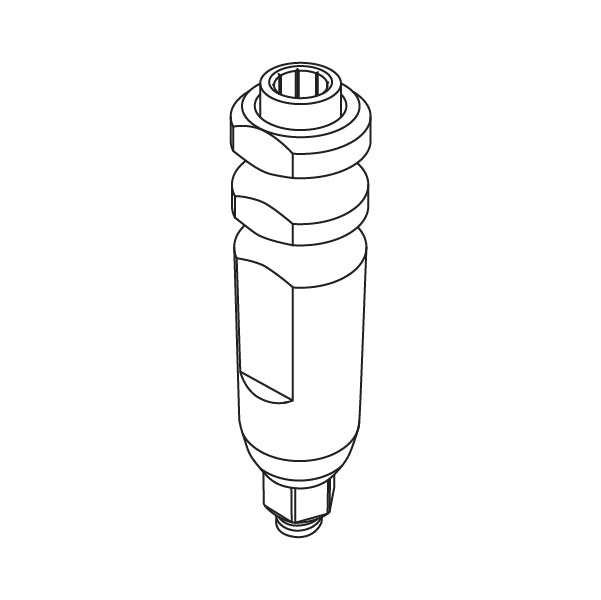
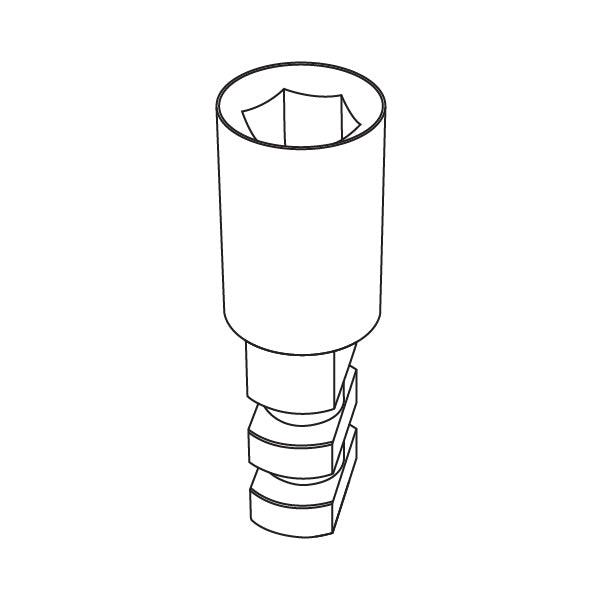
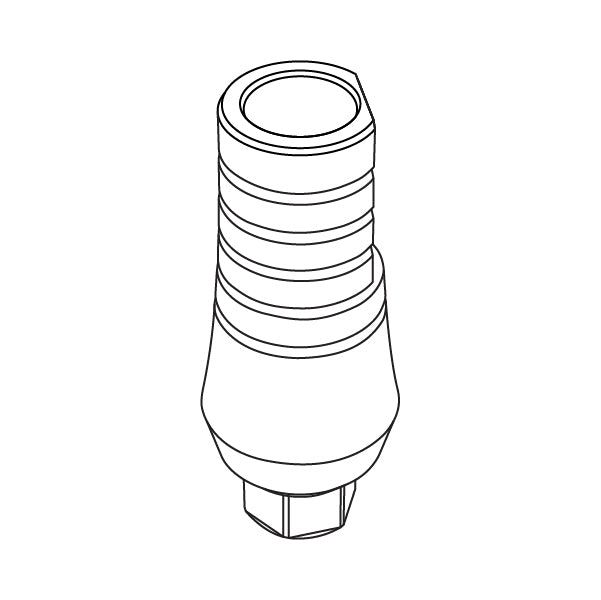
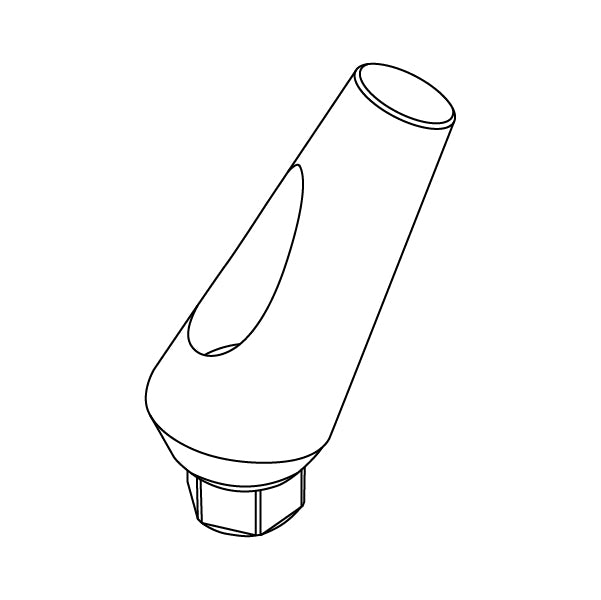
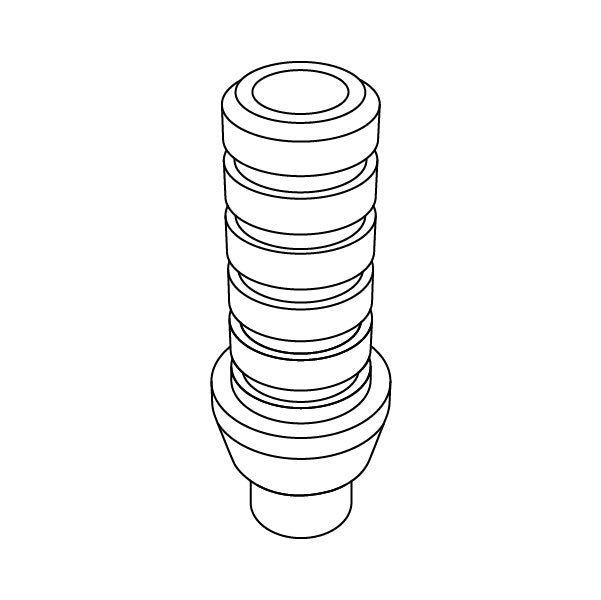
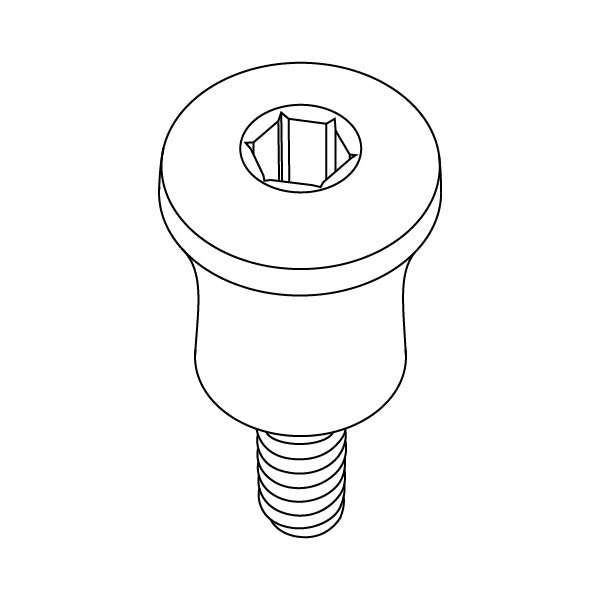
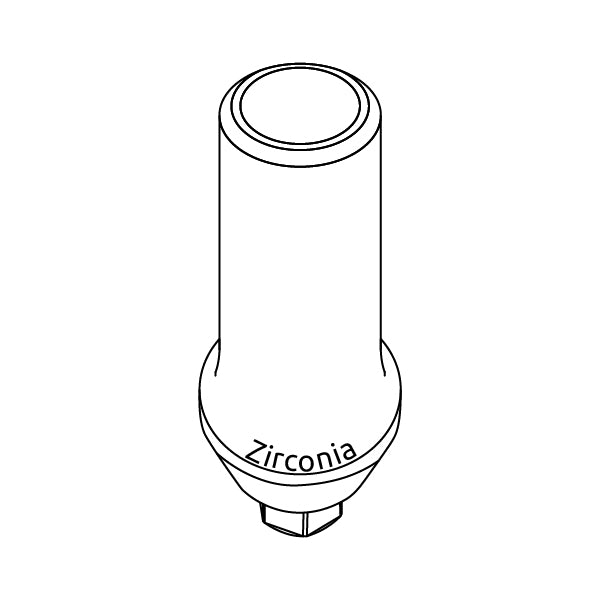
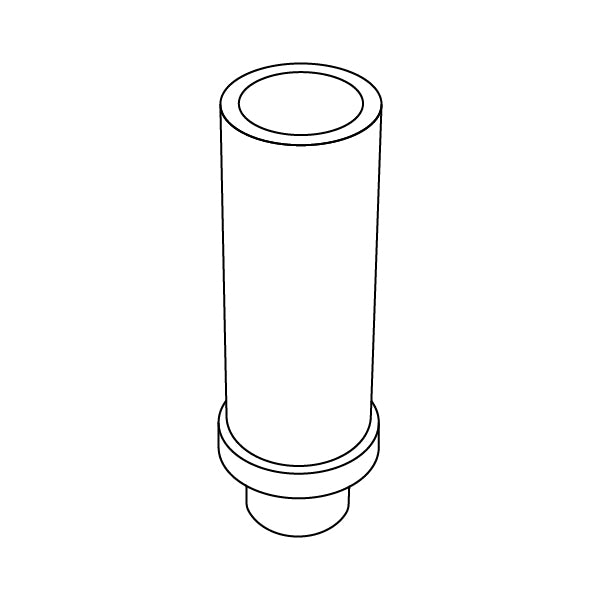
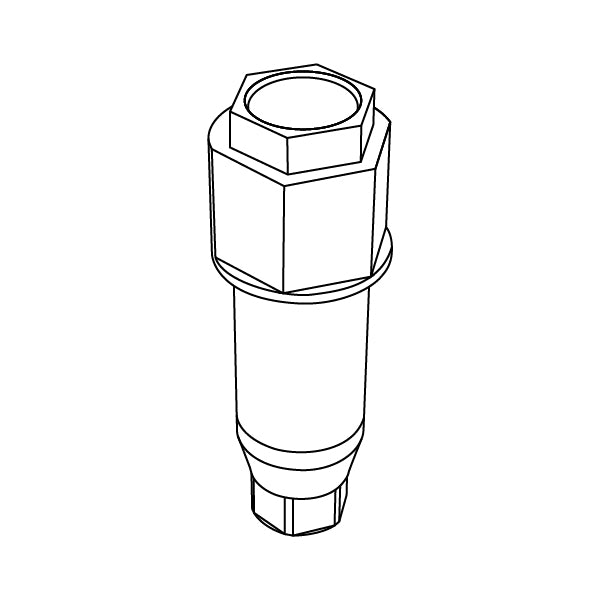
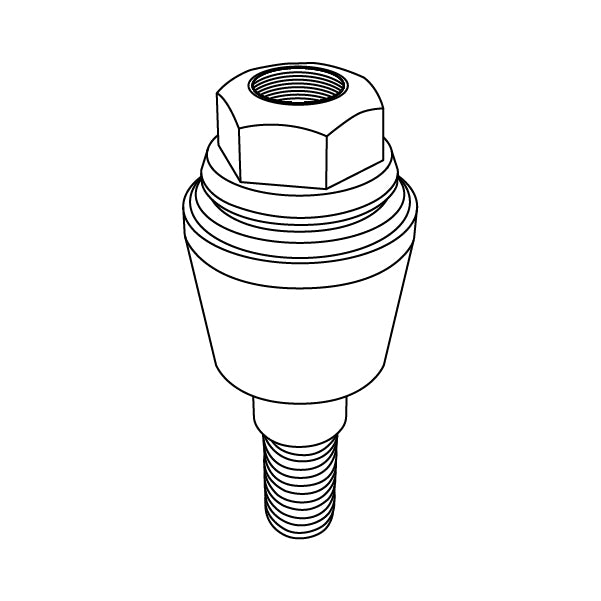
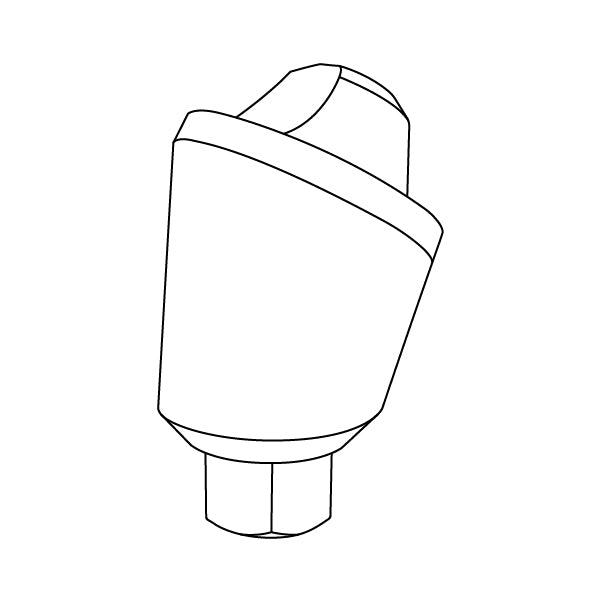
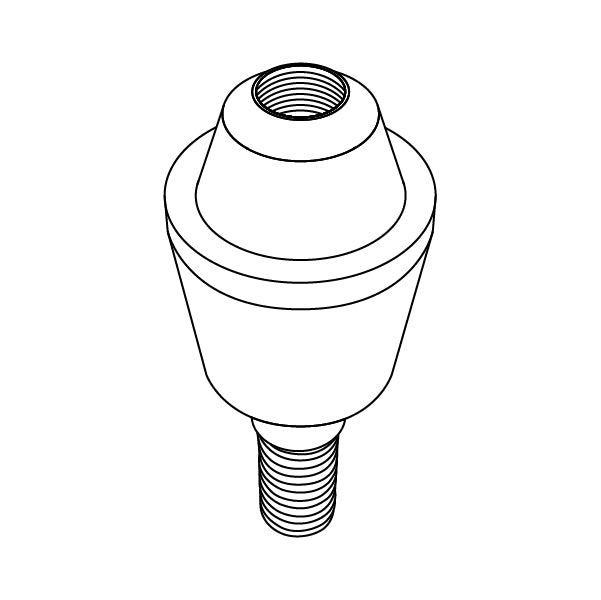
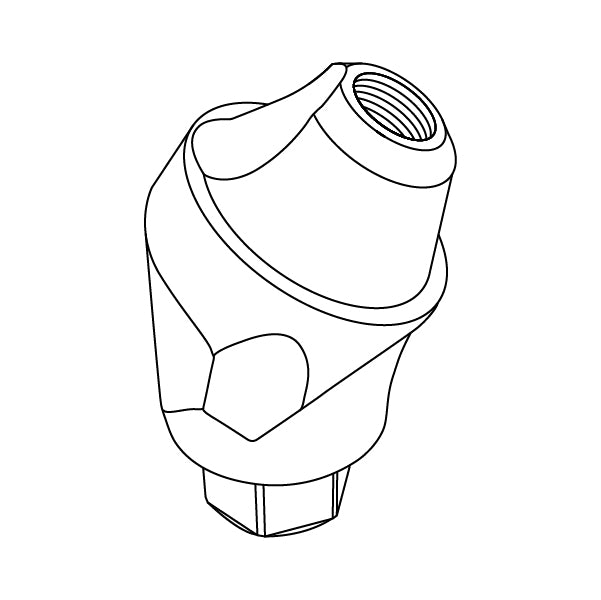
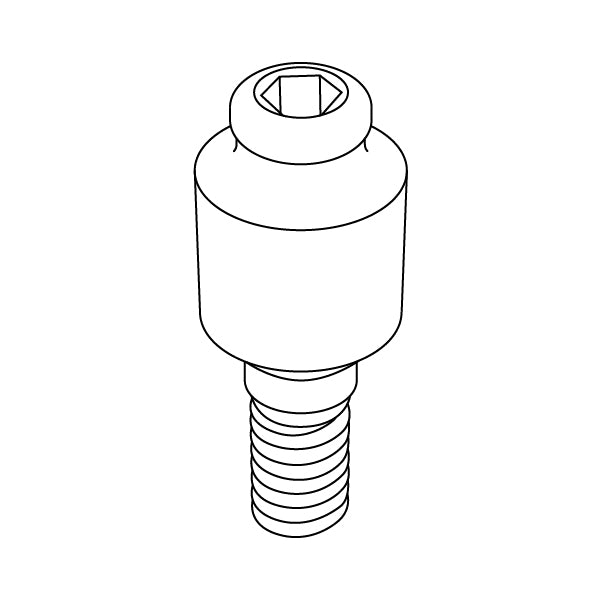
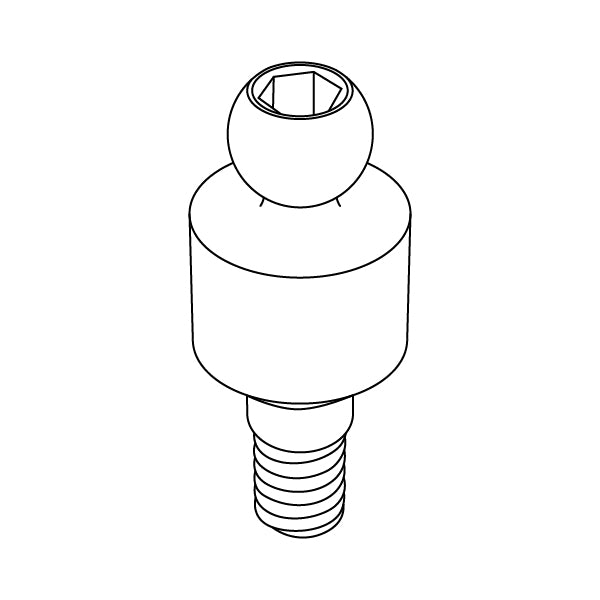
Impression Coping abutments are dental implant components used to take an accurate and precise impression of the implant site.
Fit into the implant and provide a stable platform for the impression material.
They can be easily removed and replaced, allowing multiple impressions to be taken, and compatible with different types of impression materials.
They are available in various sizes and manufactured to the highest standards for quality and longevity.
Using them ensures a better outcome for the final restoration of the implant.


As low as $17


As low as $17


As low as $17


As low as $17


As low as $17


As low as $17


As low as $17


As low as $11


As low as $17


As low as $17


As low as $23


As low as $8


As low as $8
FAQs
There are two main types of impression coping, and these are as follows:
- Closed tray impression copings: When the implants are sufficiently parallel to each other, a dentist may utilize closed tray impression copings, requiring them to capture the post within the impression. After the process of curing is completed, this technique requires the clinician to remove the impression and the coping.
- Open tray impression copings: In this technique, the transfer screw extends beyond the tray. When the impression material sets, the clinician will unscrew the screw and remove the tray, allowing the transfer to stay inside the cast. The dental professional will attach the analog to the implant and fill up the cast with a special plaster. After the process of polymerization, the dentist will remove the cast and transfer, revealing a model that replicates the exact position of the implant in the patient’s mouth.
The two main methods for taking impressions are the open tray and closed tray techniques. Dentists evaluate several factors, including the following, to determine the type of procedure suitable for the patient:
- The accessibility of the implants: When the implants are easily accessible, and there is sufficient space for the copings, dental practitioners may recommend open tray techniques. A closed tray procedure may be necessary if there is limited space.
- The stability of the implants: In cases where the implant is sufficiently stable, the dentist may choose open tray techniques.
- The condition of the soft tissues: An open tray technique provides better access to the implant site and ensures visibility, making it a perfect option for those with soft tissue health issues.
- Clinician’s preferences: Some clinicians might be more comfortable executing one technique over the other. When choosing a method, they should consider their preferences and the patient’s comfort levels.
Here are the key steps involved in taking impressions with the open tray technique:
- Place the open tray transfer on the implant by ensuring that it’s properly fitted into the jawbone with all of the necessary dental components.
- Fill a custom impression tray with the impression material before placing the tray into the patient’s mouth
- Properly fit the impression tray, ensuring that the copings align with the holes in the tray.
- Request the patient to maintain a relaxed jaw while letting the impression material set. This could take a couple of minutes.
- Remove the tray and send it over to the laboratory for fabrication purposes.
Here are the steps that dental professionals follow when taking impressions with the closed tray technique:
- Place the closed tray onto the patient’s dental implants before filling it up with the impression material.
- After the process of polymerization, remove the closed tray copings.
- Attach the implant analogs to the copings.
- Place the final coping-analog assembly into the impression.